
This craft is for preteens and up, and it’s perfect for those who love a decorative DIY challenge. A Tin Can Lantern project offers a brilliant mix of design, problem-solving, and mood-setting vibes.
Finished lanterns can be used as garden decor, a moody desk light, or part of a backyard hangout. The best part? Your children learn about up-cycling while creating something fun and unique at the same time!
Why It’s Fun for This Age Group
- Creativity Meets Engineering: Designing light patterns encourages both artistic flair and spatial thinking. Encourage your child to make large stars, hearts, smiley faces, or even constellations.
- Real Tool Use: This craft safely introduces basic tools like hammers and nails, giving kids hands-on confidence, with parental supervision, of course.
- Personalized Vibes: Kids can customize their lanterns with paint, patterns, stickers, and even message cut-outs.
- Instant Ambiance: Seeing their lantern glow at night gives an immediate sense of accomplishment. They can even string lanterns together and hang them up in their room for a cozy feel.
- Social Crafting: Great for small group projects or family craft nights, and easy to scale for multiple makers.
Time To Create Some Magic!
Supplies List
- Clean, empty tin cans (various sizes work well)
- Nail or metal punch
- Hammer
- Towel or work glove for stability
- Tea light candles or battery-operated LED lights
- Water (to fill and freeze cans for safer punching)
- Optional: spray paint, acrylic paint, stickers, washi tape, or glitter
- Paper and pencil (for stencil planning)
- Eye Protection
Directions
- Prep the Can
- Fill clean tin cans with water and freeze completely (this prevents denting when punching holes).
- Design Your Pattern
- Sketch a simple design on paper (stars, initials, geometric shapes), or wing it freestyle.
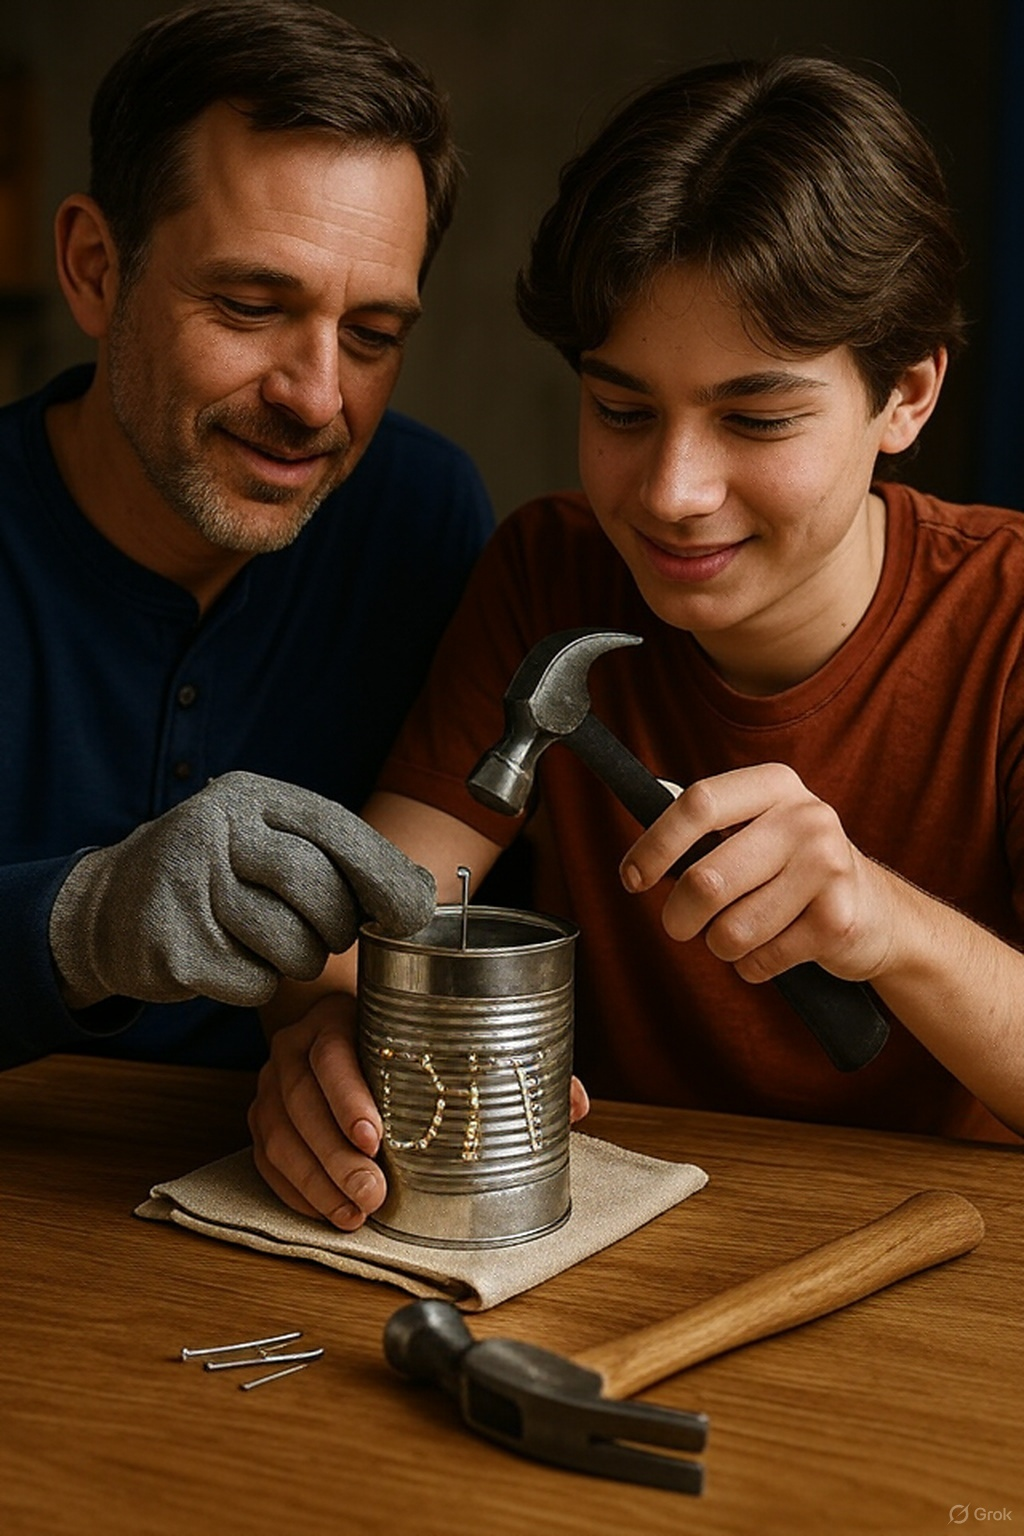
- Punch the Design
- Put on your protective eyewear.
- Wrap the frozen can in a towel, place it on a sturdy surface, and tape your outline onto your can for guidance. Use a hammer and nail to gently punch holes following your design.
- Defrost & Dry
- Remove the stencil outline and let the ice melt out. Then dry the cans completely.
- Add Style
- Decorate with paint, stickers, or other embellishments. For a rustic look, skip paint and leave the metal exposed.
- Light It Up
- Place an LED tealight inside the can, then display indoors or out for a glowing effect.
Disclaimer: Tin cans can have sharp edges. Accidents happen! Always use caution when handling tin cans and wear protective eyewear when punching holes into them. Help your child by holding the can steady as they attempt to punch a hole. Watch out for those fingers!
RELATED: Mood Board Wall Collage