
During my morning brainstorming session, my focus was on an infant-friendly craft activity that would aid in emotional awareness and identification. There were a few rules I had in mind:
- It had to be tactile
- It had to be visually stimulating
- It had to be educational
- It had to be safe for mouthing babies
When my son was younger, I used several emotion identifier tools to help him recognize typical facial expressions associated with each emotion. I tried books, pictures, games, and mirrors to really get the message across. My goal was to help him identify his own emotions, so that he could express his feelings through speech. It also helped him build empathy and grow skills that allow him to “read” social situations.
Even today, I find him studying my facial expressions to see what emotion I’m feeling. For example, if we’re watching a comedy and he feels a particular scene is funny, his head will lean in my direction, as if he’s asking himself, “Was that funny?” or “Did you like that?”
“Why Make Them, When I Can Buy Them?”
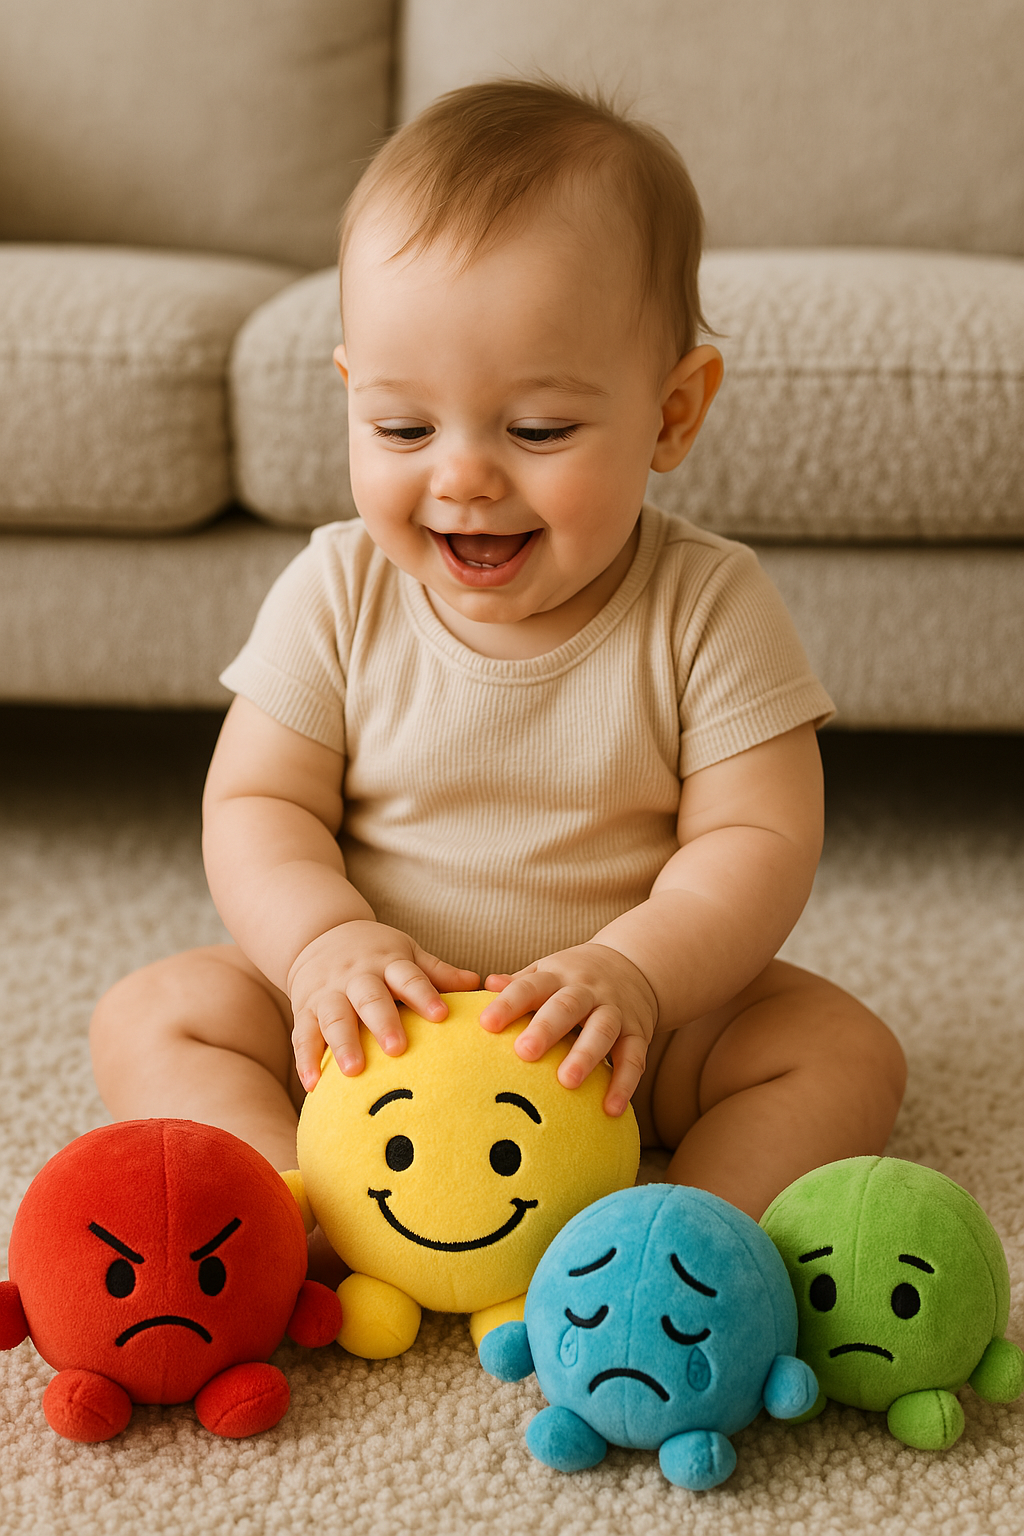
You may be tempted to buy similar stuffies for your infant, but where’s the fun in that? Of course, I am aware that finding time as an infant parent can be extremely challenging. However, if you are able to manage it or simply wish to have a little “me time,” while baby naps…you may enjoy creating this calming craft!
Added Bonus: You will be able to add these little stuffies to your infant’s memory box as a keepsake to show them as they grow older.
Note: While this craft can be used at any age, with any developmental level, early intervention is key! If you want to give your child the skills to recognize and label emotions, this craft will help you get there!
Let’s Get Started:
Supplies
- Cotton or fleece fabric (soft textures, preferably in bold colors)
- Embroidery thread or fabric markers for facial features
- Sewing needle or sewing machine
- Polyfill or hypoallergenic stuffing
- Paper for templates
- Optional: crinkle paper, jingle bells, or textured swatches inside for sensory layers
Directions
1. Design Emotion Faces:
- Sketch 3–5 simple facial expressions (e.g., happy, sad, surprised, sleepy, calm) on paper.
- Note: Simple emotions are a great starting point for infants. Expand into more emotions as your child develops (e.g., confused, frustrated, shy, worried).
- Keep features bold and minimal. The less “frills” the better. Include eyes, a mouth, and eyebrows.
2. Create Templates:
- Cut out basic shapes for the stuffies: circles, squares, hearts, or clouds.
- Note: You want the shapes to be big enough to grasp and hold. Remember, you’re going to be stuffing them too!
- Each one should be at least palm-sized (adult hands), roughly 4–6 inches across.
3. Cut & Decorate:
- Use templates to cut out two matching fabric pieces for each emotion.
- Embroider or draw the expression on one piece with high-contrast thread or marker.
4. Layer & Stitch:
- Turn your “emotion” side to face inward, against the opposite fabric piece.
- Sew around the edges, leaving a small gap for stuffing.
- Turn inside out, stuff, and finish stitching.
- Optional: Add crinkle paper or textured swatches between layers for additional sensory input.
5. Play & Connect:
- Introduce each stuffy during daily routines: “This is the sleepy one, it’s time to rest.”
- Hold up your stuffies during moments when your child expresses a similar emotion: “Yay! You’re feeling happy!” when they smile.
- Mimic the faces together to build early emotional mirroring and social engagement.
- Above all, keep “lessons” short! This means you can quickly identify each emotion throughout the day and place them aside. Allow your child to play with them as long as they wish, and avoid over-explaining.
Bonus Tip: Use simple sign language to help further identify each emotion for your child. There are many apps that will teach them to you!
Bonus, Bonus Tip: Use this craft with your older children too! Allow them to practice their sewing and crafting skills, just for fun!
RELATED: Infant Texture Board