
Making homemade sidewalk chalk is a fantastic hands-on activity for early elementary students. This fun activity combines creativity, sensory exploration, and STEM learning!
Benefits of Making Homemade Sidewalk Chalk:
1. Fine Motor Skill Development
- Strengthens hand muscles through mixing, pouring, and molding.
- Improves coordination and dexterity, essential for writing and drawing.
2. Creativity & Self-Expression
- Allows children to choose colors and shapes, fostering artistic confidence.
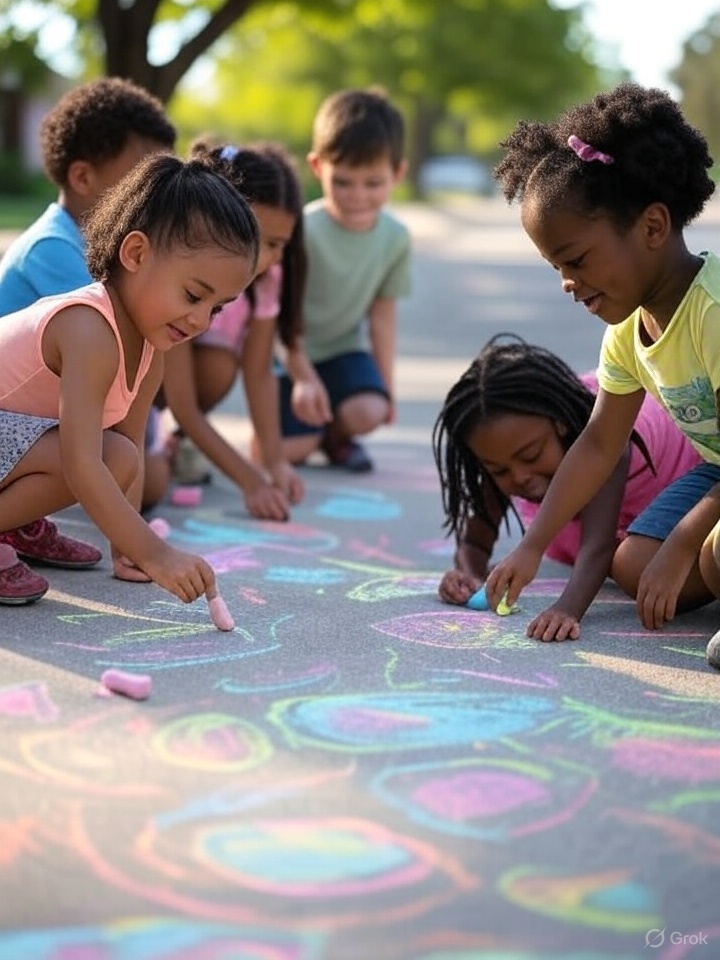
- Encourages imaginative play when using the chalk for outdoor drawings.
3. Science & Chemistry Learning
- Introduces basic chemistry concepts like mixing and reactions (e.g., plaster of Paris setting).
- Demonstrates how materials change from liquid to solid, reinforcing cause and effect.
4. Sensory Exploration
- Engages touch, sight, and even sound (mixing and pouring).
- Helps children understand textures and how materials transform.
5. Following Instructions & Patience
- Reinforces listening skills and step-by-step task completion.
- Encourages patience as they wait for the chalk to dry and harden.
6. Social & Collaborative Learning
- Can be done in groups, promoting teamwork and shared creativity.
- Encourages discussion about colors, shapes, and outdoor play ideas.
7. Outdoor Play & Physical Activity
- Provides a fun way to practice writing, drawing, and even math concepts outside.
- Encourages movement and creativity through sidewalk art.
Let The Crafting Begin!
Supplies Needed:
- Plaster of Paris (about 1 cup per batch)
- Water (½ cup per batch)
- Tempera paint or food coloring
- Disposable cups or bowls
- Spoon or craft stick
- Silicone molds or toilet paper rolls lined with wax paper (for shaping the chalk)
- Wax paper or parchment paper
Directions:
- Prepare the molds
- If using toilet paper rolls, line them with wax paper and stand them upright on a tray. Silicone molds work as-is.
- Mix the plaster
- In a disposable cup or bowl, combine 1 cup of Plaster of Paris with ½ cup of water and stir until smooth.
- Add color
- Mix in a few drops of tempera paint or food coloring until you get the desired shade. Stir well.
- Pour into molds
- Carefully pour the mixture into the prepared molds. Tap gently to remove air bubbles.
- Let it set
- Allow the chalk to dry for at least 24 hours until fully hardened.
- Remove from molds
- Once dry, peel away the mold or wax paper and let the chalk cure for another day if needed.
- Use & enjoy
- Take the homemade chalk outside and start creating colorful sidewalk art!
RELATED: Coffee Filter Poppies for Early Elementary Students