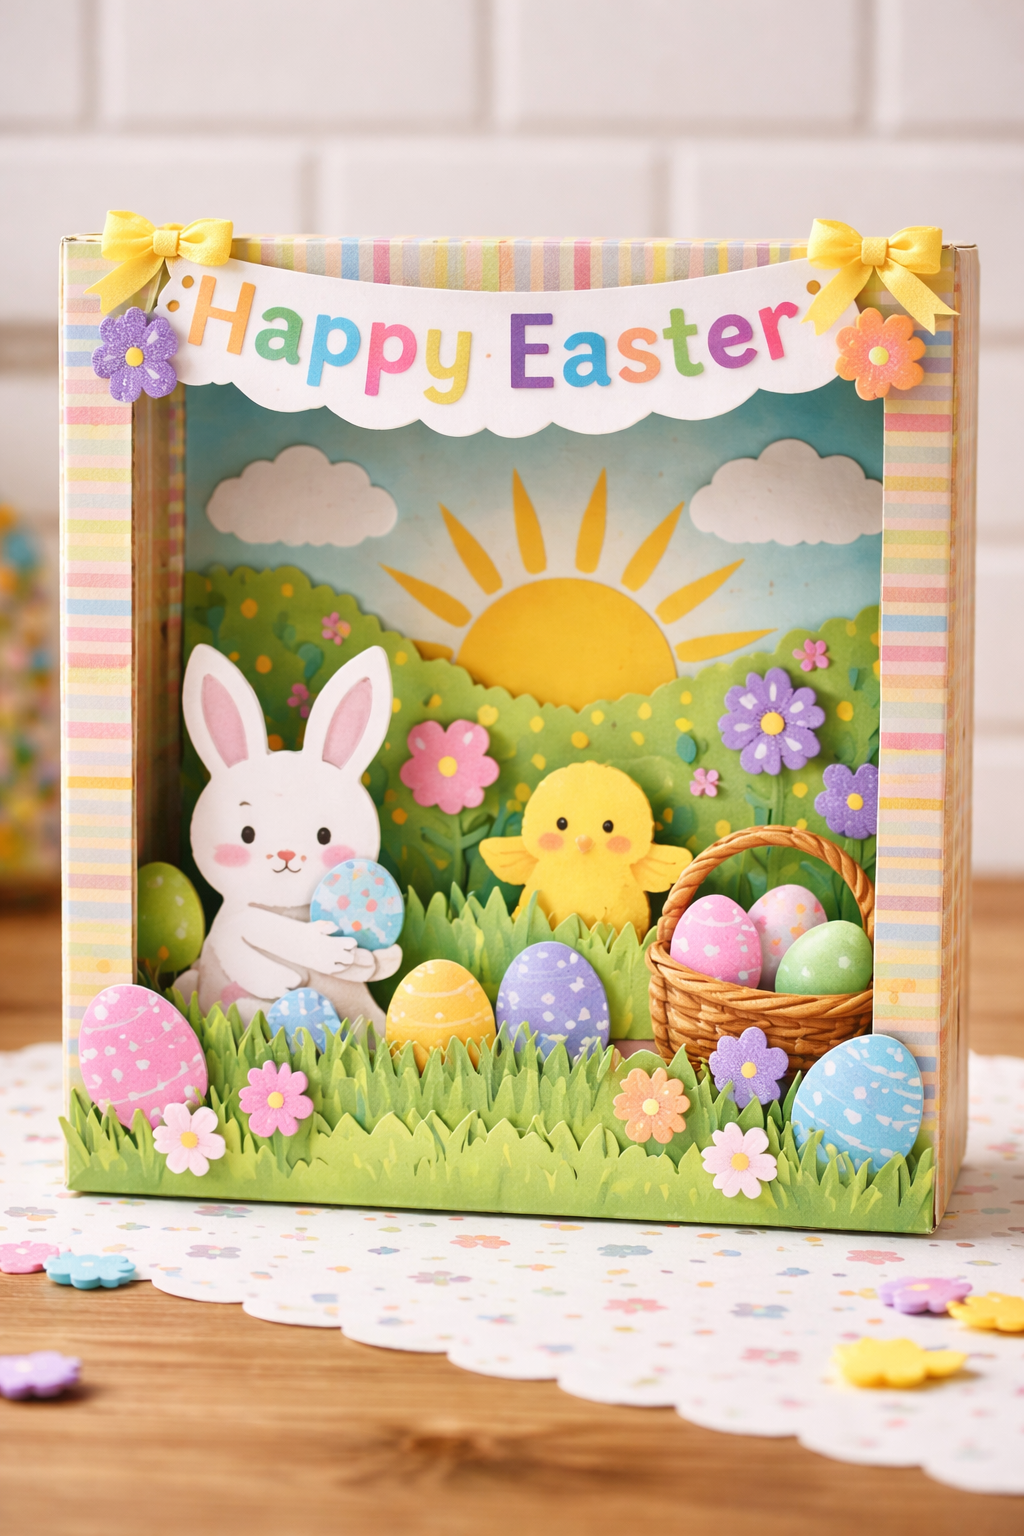
Looking for a meaningful and engaging Easter craft for older elementary kids? This DIY Easter Shadow Box is the perfect blend of creativity, storytelling, and hands-on building.
Your children will design and assemble a layered scene inside a small box that showcases spring flowers, Easter eggs, bunnies, and even a sunrise background. The final result is a beautiful 3D display they can proudly showcase year after year.
Why This Craft is Great for Late Elementary Ages
This craft is especially well-suited for children in upper elementary grades (ages 8–11) for several reasons:
- Encourages Creativity & Personal Expression
Kids can design their own scene, choosing colors, themes, and layouts. - Builds Fine Motor Skills
Cutting, layering, and assembling small pieces strengthens coordination and precision. - Promotes Problem-Solving
Figuring out how to layer elements and make them stand upright encourages planning and critical thinking. - Integrates Art & Storytelling
Children can create a scene that tells a story—whether it’s a playful Easter garden or a meaningful seasonal display. - Provides a Sense of Accomplishment
The finished shadow box is a more advanced craft that feels rewarding and display-worthy.
Supplies Needed
- Small cardboard box (shoebox or similar size)
- Colored construction paper or cardstock
- Scissors
- Glue (school glue or glue stick)
- Markers, crayons, or colored pencils
- Craft sticks or strips of cardboard (for layering support)
- Decorative items (optional): stickers, tissue paper, cotton balls, ribbon
- Pencil and ruler
Let’s Get Started
Directions
Step 1: Prepare the Box
- Lay the box on its side so the opening faces forward.
- This will be your “window” into the scene.
Step 2: Create the Background
- Cut a piece of paper to fit the back of the box.
- Draw or color a spring scene—grass, sky, sun, flowers, or even a cross for a faith-based option.
- Glue it to the inside back panel.
Step 3: Design Foreground Elements
- Draw and cut out shapes like Easter eggs, bunnies, chicks, flowers, or baskets.
- Decorate them with markers or crayons.
Step 4: Add Dimension
- Glue your cutouts onto craft sticks or folded strips of cardboard.
- Attach them inside the box at different distances from the back to create a layered, 3D effect.
Step 5: Decorate the Frame
- Decorate the outside edges of the box using paper, stickers, or drawings.
- Add a title like “Happy Easter” or your child’s name.
Step 6: Let It Dry & Display
- Allow everything to dry completely.
- Display on a shelf, desk, or windowsill.
Additional Tips
- Pre-Cut for Younger Students: If needed, pre-cut some shapes to help save time.
- Use Templates: Provide simple bunny or egg templates for guidance.
- Encourage Planning: Have kids sketch their design before building.
Extension Ideas for Homeschool Lessons
Take this craft a step further with these enriching extensions:
- Writing Activity
Have your child write a short story or paragraph describing their shadow box scene. - Science Connection
Discuss spring themes like plant growth, weather changes, or animal life cycles. - Math Integration
Measure the box and calculate how much space each layer takes. Practice fractions or spatial reasoning. - History or Faith-Based Learning
Incorporate lessons about Easter traditions around the world or the historical/religious significance of the holiday. - Art Study
Introduce the concept of foreground, middle ground, and background in art and how artists create depth.
RELATED: Flip Book Animations