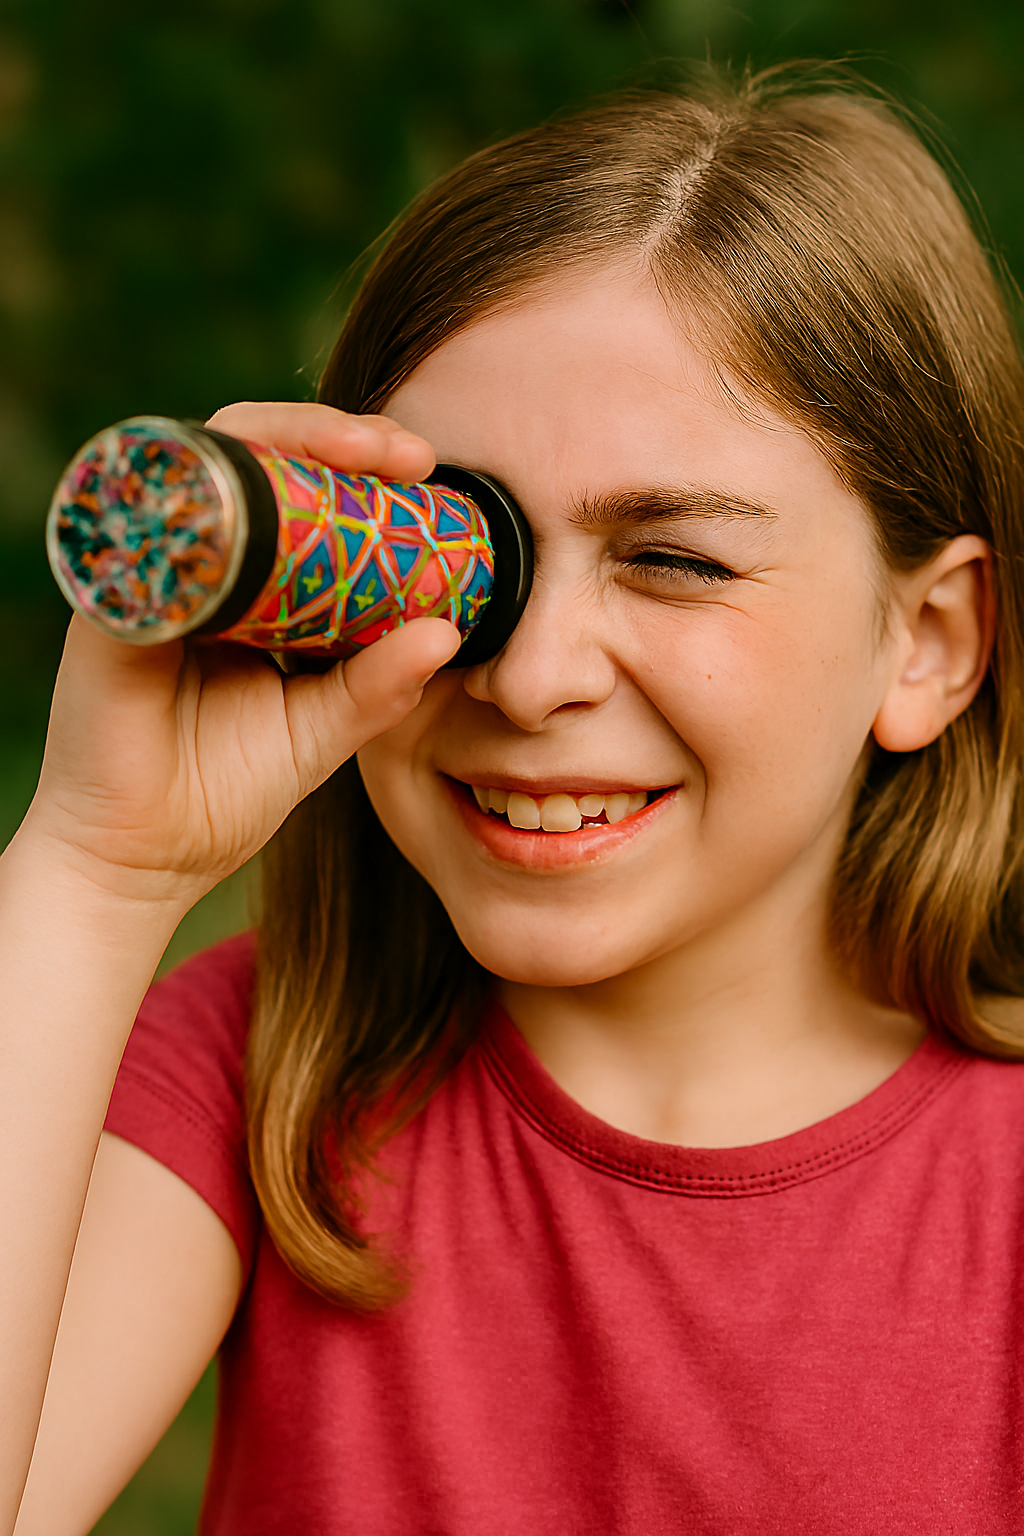

Today’s craft is a perfect blend of science and creativity (my two favorite things)! Who doesn’t love the dazzle and wonder of a kaleidoscope? You can make your own by using a few simple items found in your home.
Your children will love creating and viewing how the reflections shift and transform with each rotation. Bonus: This craft introduces basic principles of light, reflection, and symmetry while encouraging artistic expression and problem-solving. Let’s examine some of the other benefits of this craft.
Benefits for Late Elementary Children:
- STEAM Learning: Creating your own kaleidoscope allows your late elementary child to explore physics concepts like reflection, symmetry, and angles.
- Fine Motor Skills: You may think this isn’t important for this age, but think about how often we use our hands! Cutting, assembling, and decorating, help to strengthen hand-eye coordination and boost hand strength.
- Creativity & Design: Your kids will love choosing their color palettes and patterns, making each kaleidoscope completely unique!
- Focus & Patience: The step-by-step assembly builds concentration and sequencing skills.
- Sensory Engagement: The visual stimulation your child receives through the vibrant, shifting designs will captivate their attention and spark further creativity. Have your child make different versions of this craft to compare and contrast.
- Confidence Boost: Completing a functional, beautiful object fosters pride and ownership. Your child will get to keep their craft and show it off to others!
Let’s Get Started!
Supplies Needed:
- 1 cardboard tube (paper towel or toilet paper size)
- 3 small rectangular mirrors or mirrored cardstock (approx. 1″ x 4″)
- See the bottom of this post for mirror alternatives
- Transparent plastic sheet (e.g., from packaging or report covers)
- Colorful beads, sequins, or translucent confetti
- Black construction paper
- Tape or glue
- Scissors
- Ruler
- Optional: decorative paper, stickers, or washi tape for outer design
Directions:
1. Prepare the Mirror Triangle

- Cut three rectangular mirrored pieces to equal size.
- Ensure your prism fits inside the tube. Tape the mirrored pieces together lengthwise to form the triangular prism. The reflective sides should be facing inward.
- Slide this prism into the cardboard tube.
Note: See below for mirror alternatives
2. Create the Viewing End
- Cut a circle from black construction paper to fit over one end of the tube.
- Tape or glue the paper securely to one end of the tube.
- Poke a small hole in the center for viewing with a pen or pencil.
3. Make the Color Chamber
- Cut two circles from the transparent plastic sheet to fit the other end of the tube.
- Place colorful beads, sequins, or confetti between the two plastic circles.
- Tape the edges together to seal the chamber.
4. Attach the Color Chamber
- Tape the sealed plastic circle to the open end of the tube, making sure it’s secure but rotatable. In other words, if your glitter and beads can move within their clear plastic space, you’ll get more visual variety as you rotate your tube.
5. Decorate the Outside
- Wrap the tube in decorative paper or let your kids personalize it with stickers, drawings, or washi tape.
6. Explore & Reflect
- Look through the viewing hole and slowly rotate the tube.
- Watch the patterns shift and sparkle as light bounces off the mirrors.
Mirror Alternatives for DIY Kaleidoscopes
| Material | Pros | Cons |
|---|---|---|
| Mirrored cardstock | Lightweight, easy to cut, safe for kids | Slightly less reflective than real mirrors |
| Aluminum foil (on cardstock) | Inexpensive, decent reflectivity | Wrinkles easily, less durable |
| Mylar sheets | Highly reflective, flexible, used in emergency blankets | Can be tricky to cut and tape neatly |
| CD or DVD pieces | Very reflective, upcycled material | Hard to cut safely, sharp edges—adult supervision needed |
| Silver gift wrap | Shiny and decorative, fun for kids | Not very reflective for crisp kaleidoscope images |
| Plastic mirror sheets | Safe, durable, good reflectivity | Slightly more expensive, adult supervision may be needed |
Tips for Using Alternatives
- For aluminum foil: Glue it smoothly onto stiff cardstock to prevent crinkles and improve structure.
- For Mylar or gift wrap: Mount on cardboard for stability and easier prism formation.
- For CD pieces: Soak in warm water to separate layers, then cut with heavy-duty scissors (adults only).
- For mirrored cardstock or plastic mirror sheets: These are ideal for classroom or homeschool use—safe, effective, and easy to handle.
RELATED: Galaxy Jars