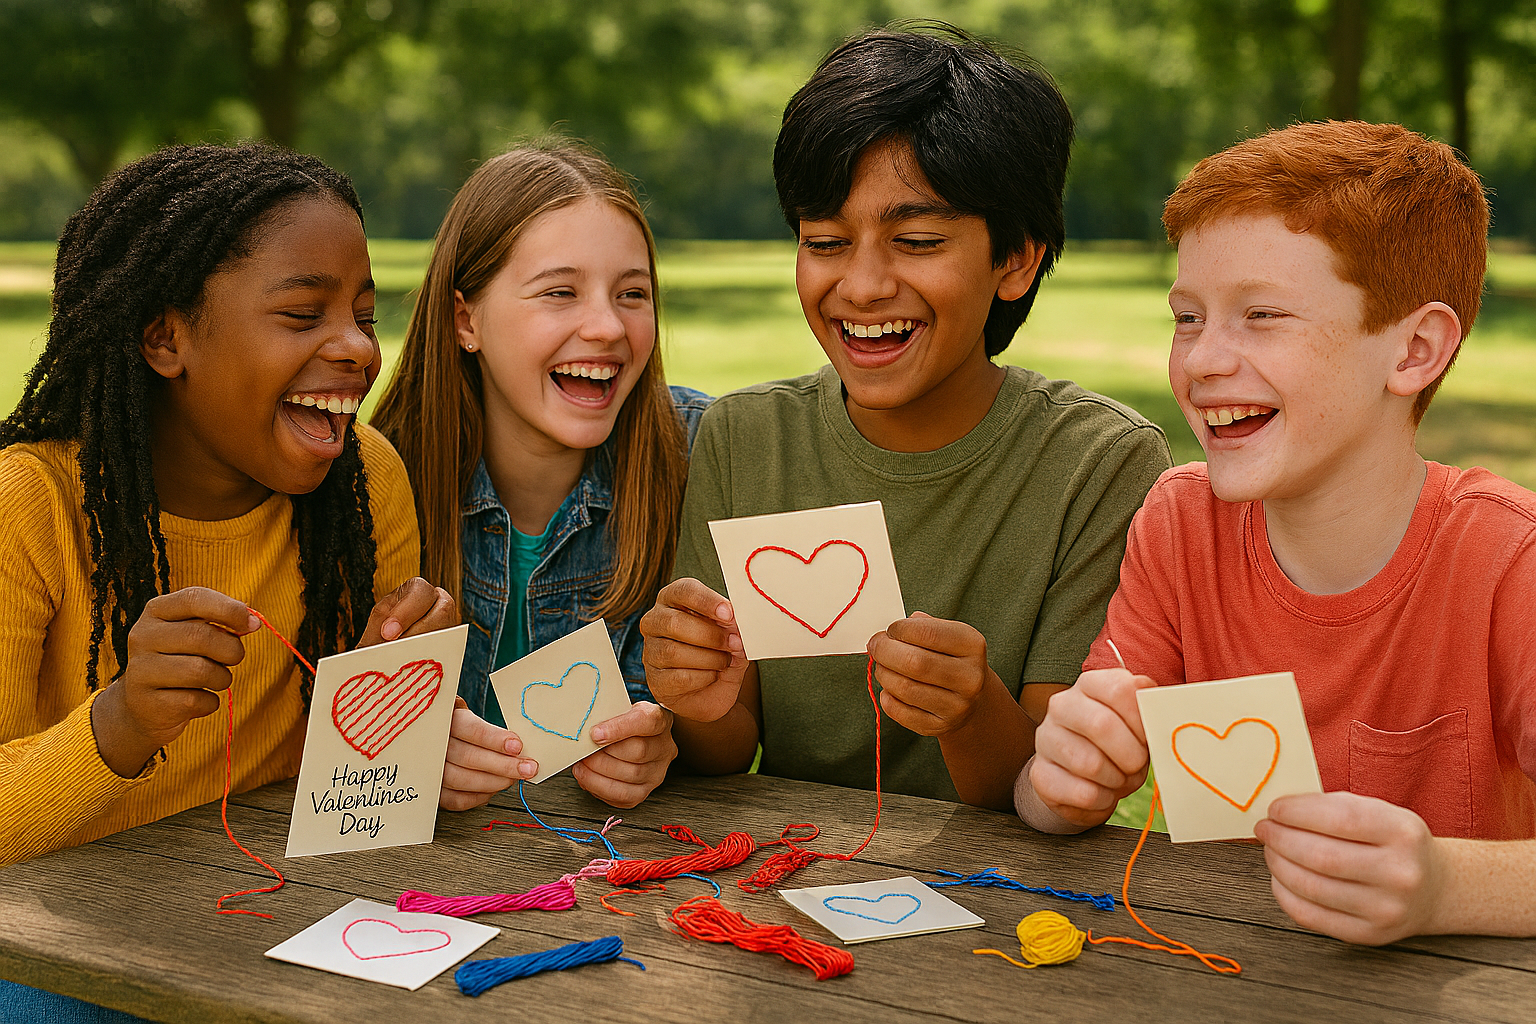

There’s something magical about combining simple materials to create a Valentine that feels heartfelt. Embroidered Paper Valentine Cards are the perfect blend of art, design, and hands-on crafting, giving pre‑teens+ a chance to slow down, express themselves, and make something truly meaningful.
This project feels fresh and modern, but still wonderfully approachable. With just a few supplies and a little guidance, kids can stitch patterns, initials, or tiny heart motifs into cardstock to create cards that look like they came from a boutique stationery shop.
Why This Craft Is Perfect for Pre‑Teens+
Pre‑teens are in that sweet developmental window where they crave independence, want their creations to feel “real,” and enjoy projects that let them express identity and style. Embroidered paper cards hit all those notes beautifully.
Creative Ownership
Kids choose their colors, patterns, and designs—everything from minimalist hearts to bold geometric lines. It’s a craft that grows with their confidence.
A Calming, Mindful Process
The slow rhythm of stitching is soothing and grounding. It’s a wonderful way to channel energy, reduce stress, and practice patience.
Skill‑Building Without Feeling “Babyish”
Sewing on paper introduces basic embroidery skills in a low-pressure way. It feels mature and artistic, not childish.
Meaningful, Gift‑Ready Results
These cards look polished and intentional—perfect for friends, teachers, or family members. Pre‑teens love making something that feels like a real keepsake.
Let’s Get Started!
Supplies
- Heavy cardstock or blank cards
- Embroidery floss (any colors)
- Embroidery needle (blunt tip recommended)
- Pencil
- Ruler (optional)
- Thumbtack or pushpin (for pre‑punching holes)
- Foam pad, corkboard, or folded towel (to protect surfaces while punching)
- Scissors
- Tape or washi tape (to secure thread ends)
Directions
1. Plan Your Design
Have kids sketch a simple heart, initials, or a repeating pattern lightly in pencil. Tip: Straight lines and simple shapes work best for beginners.
2. Pre‑Punch the Stitching Holes
Place the card on a foam pad or folded towel. Use a thumbtack or pushpin to poke small holes along the pencil lines, spacing them evenly. This step makes stitching easier and prevents tearing.
3. Thread the Needle
Cut a piece of embroidery floss about 18–24 inches long. Separate it into 2–3 strands if you want a thinner, more delicate look. Tie a knot at one end.
4. Begin Stitching
Start from the back of the card and pull the thread through the first hole. Use simple stitches like:

- Backstitch for clean outlines
- Straight stitches for geometric designs
- Cross-stitches for patterns or accents
Keep tension gentle to avoid ripping the paper.
5. Secure the Thread
When you finish a section, tape the thread end to the back of the card. This keeps the card neat and prevents bulky knots.
6. Add Finishing Touches
Erase any visible pencil marks. Write a message inside, add stickers, or decorate the edges with washi tape. The stitched front becomes the star of the show.
RELATED: Friendship Bracelets
Leave a Reply
You must be logged in to post a comment.