


Making friendship bracelets is a great craft for preteens and teens, offering a mix of creativity, skill-building, and social connection.
Benefits of Making Friendship Bracelets:
1. Encourages Creativity & Self-Expression
- Teens can experiment with colors, patterns, and materials to create unique designs.
- Allows them to express their personal style and make meaningful gifts for friends.
2. Strengthens Fine Motor Skills & Hand-Eye Coordination
- Braiding, knotting, and weaving improve dexterity and precision.
- Helps develop patience and focus through detailed handwork.
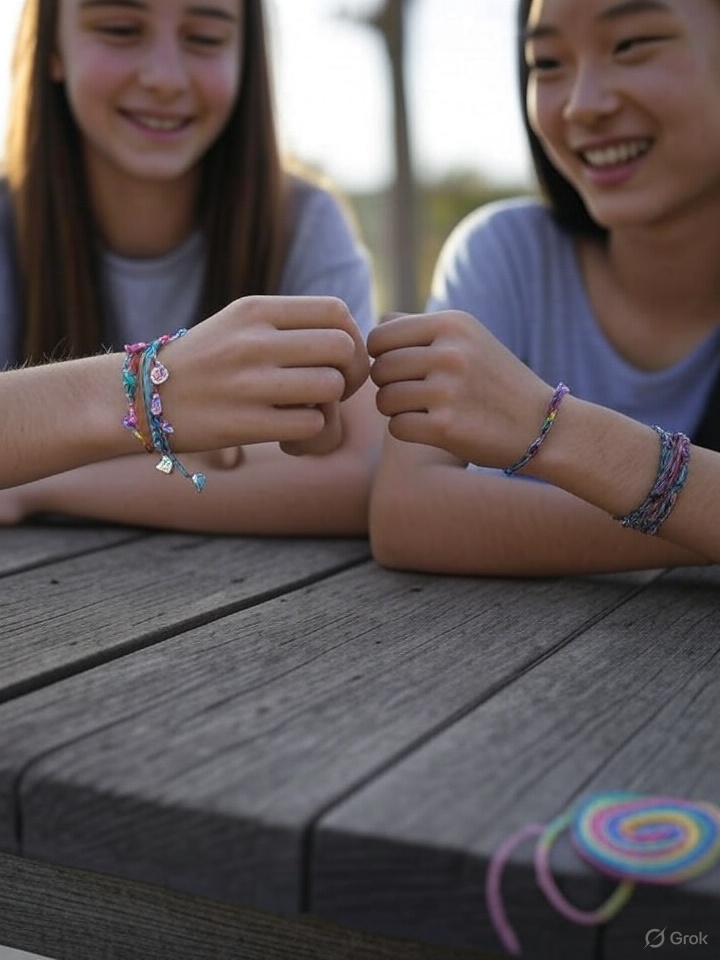
3. Promotes Social Connection & Bonding
- Making and exchanging bracelets fosters friendship and emotional connection.
- Can be part of group activities, summer camps, or school clubs, encouraging teamwork.
4. Teaches Patience & Mindfulness
- The repetitive motions of bracelet-making can be calming and meditative.
- Helps teens unplug from screens and engage in a hands-on activity.
5. Provides a Sense of Accomplishment
- Completing a bracelet gives a tangible reward, boosting confidence.
- Encourages goal-setting and perseverance in learning new patterns.
6. Introduces Basic Business & Entrepreneurial Skills
- Teens can sell handmade bracelets, learning about pricing, marketing, and budgeting.
- Teaches responsibility and creativity in small-scale business ventures.
7. Encourages Gift-Giving & Thoughtfulness
- Helps teens develop empathy and appreciation for others.
- Handmade bracelets make personalized gifts for birthdays, holidays, or special occasions.
Let’s Get Started!
Supplies:
- Embroidery floss or craft thread (various colors)
- Scissors
- Tape or clipboard (to hold the bracelet while working)
- Beads or charms (optional, for extra decoration)
- Safety pin (optional, to attach to jeans or a pillow for stability)
Directions for Different Bracelet Styles:
Basic Braided Bracelet (Beginner-Friendly)
This bracelet is perfect for beginners. It’s quick and easy and great for layering!
- Cut three strands of embroidery floss (about 24 inches each).
- Tie a knot at the top, leaving about 2 inches for tying later.
- Tape or clip the knot to a surface for stability.
- Braid the strands together until you reach the desired length.
- Tie a knot at the end and trim excess thread.
Classic Chevron Bracelet (Intermediate)
This type of bracelet is perfect for practicing various knot-tying techniques.
- Cut six strands of embroidery floss (about 30 inches each). Use two strands per color for a bold pattern.
- Tie a knot at the top and tape it down.
- Arrange the strands in a symmetrical order (e.g., red, blue, yellow, yellow, blue, red).
- Make forward knots (looping one strand over the next) to create a V-shaped pattern.
- Continue knotting until the bracelet reaches the desired length.
- Tie a knot at the end and trim excess thread.
Beaded Friendship Bracelet (Fun & Customizable)
This style is perfect for adding beads, charms and other meaningful symbols!
- Cut a strand of embroidery floss or elastic cord (about 20 inches).
- Tie a knot at one end, leaving room for tying later.
- Thread beads onto the string, spacing them evenly or creating a pattern.
- Tie a knot at the other end to secure the beads.
- Adjust the length and tie the bracelet around the wrist.
Knotted Spiral Bracelet (Advanced)
This bracelet style creates a cool, twisted effect.
- Cut four strands of embroidery floss (about 30 inches each).
- Tie a knot at the top and secure it with tape.
- Use one strand to make repeated forward knots around the other strands.
- Continue knotting to create a spiral effect.
- Tie a knot at the end and trim excess thread.
Tips for Teens:
- Mix colors for unique designs.
- Use metallic or glow-in-the-dark thread for a fun twist.
- Make matching bracelets with friends for a friendship set.
- Try adjustable sliding knots
- Mix and match design styles for your customized bracelet.
RELATED: DIY Bath Bombs For Preteens & Up