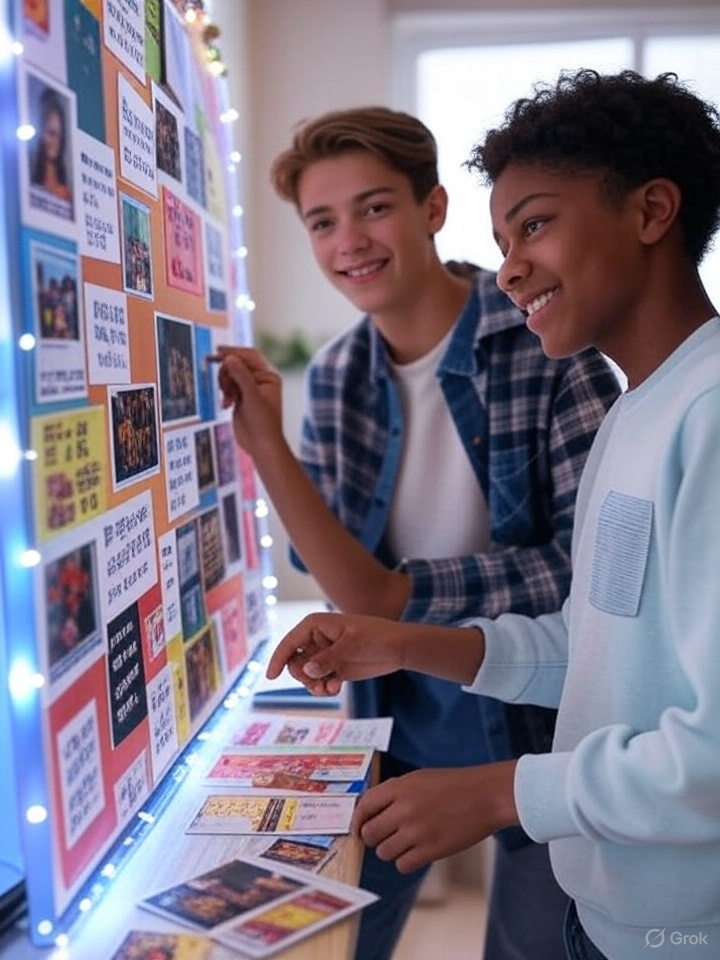

We all have goals and dreams in life. The tender age range of preteens & up is a great time to set those goals into motion. Creating a Mood Board Wall Collage will help your child visualize their goals in a run and creative way!
Preteens & up create a personalized wall collage that reflects their style, goals, aesthetic, and current interests. This craft combines elements of journaling, vision boarding, and décor, resulting in a unique art installation that they can pin right on their wall.
Benefits of Inspiring Your Preteen +
Why It’s Great for This Age Group:
- Self-expression: Helps them explore identity, tastes, and aspirations.
- Emotional outlet: Offers a healthy, non-verbal way to process emotions and dreams.
- Social & shareable: They can make it solo or with friends and share pics online.
- Customization: Can be updated anytime as interests evolve.
- Low-stress, high-creativity: There’s no “right way” or “wrong way” to make it. Kids can just follow their vibe and create whatever pleases them.
Here’s What You’ll Need:
Supplies Needed
- Poster board or large sheet of cardstock (optional if working directly on wall)
- Magazine clippings, photos, postcards, concert tickets, printables
- Washi tape, sticky tack, or removable wall-safe adhesive
- Paint markers, stickers, gel pens
- Fabric swatches or scrapbook paper (for texture)
- Scissors
- Optional: LED fairy lights or mini clothespins for hanging
Directions
- Prep the Space: Choose a section of your wall or a large board where your collage will live.
- Choose a Theme or Mood: It could be “Summer Vibes,” “Future Goals,” “Retro Grunge,” or completely abstract.
- Curate Materials: Gather images, textures, and words that resonate with the chosen theme.
- Layout Planning: Before sticking anything down, experiment with layouts. Overlap pieces, create clusters, or geometric patterns.
- Stick It Down: Use washi tape, sticky tack, or paint markers to secure and decorate each piece.
- Add Final Touches: Sprinkle in doodles, quotes, or LED lights to enhance the vibe.
- Reflect & Refresh: Teens can revisit and swap pieces as they grow or shift interests.
RELATED: Friendship Bracelets