It’s that time of year again!
Summer is approaching fast, and depending on your state laws, you may be due for a review. In my state, I have to submit yearly portfolio reviews for each of my homeschooled children.
For those of you who are new to homeschooling or looking for a portfolio refresher, I’m going to tell you all about my process, what you must include, and some fun extras!
Portfolio Must-Haves
Let’s jump right in. The whole point of a homeschool portfolio is to show your school district your child’s progress over the past school year. Some districts provide an easy review form that a certified teacher or counseling professional can fill out and return, while others are happy to accept a professional letter of competency.
To review your child’s progress, teachers, counselors, or psychologists will need to know the following:
- Child’s Name & DOB
- Estimated Grade Level
- Contact Information
- Parent/guardian phone numbers & address
- Proof of Competency
What the heck is that last one, you ask? It’s simply a record of your child’s work and activities over the school year. The great part is that you can present this any way you wish!
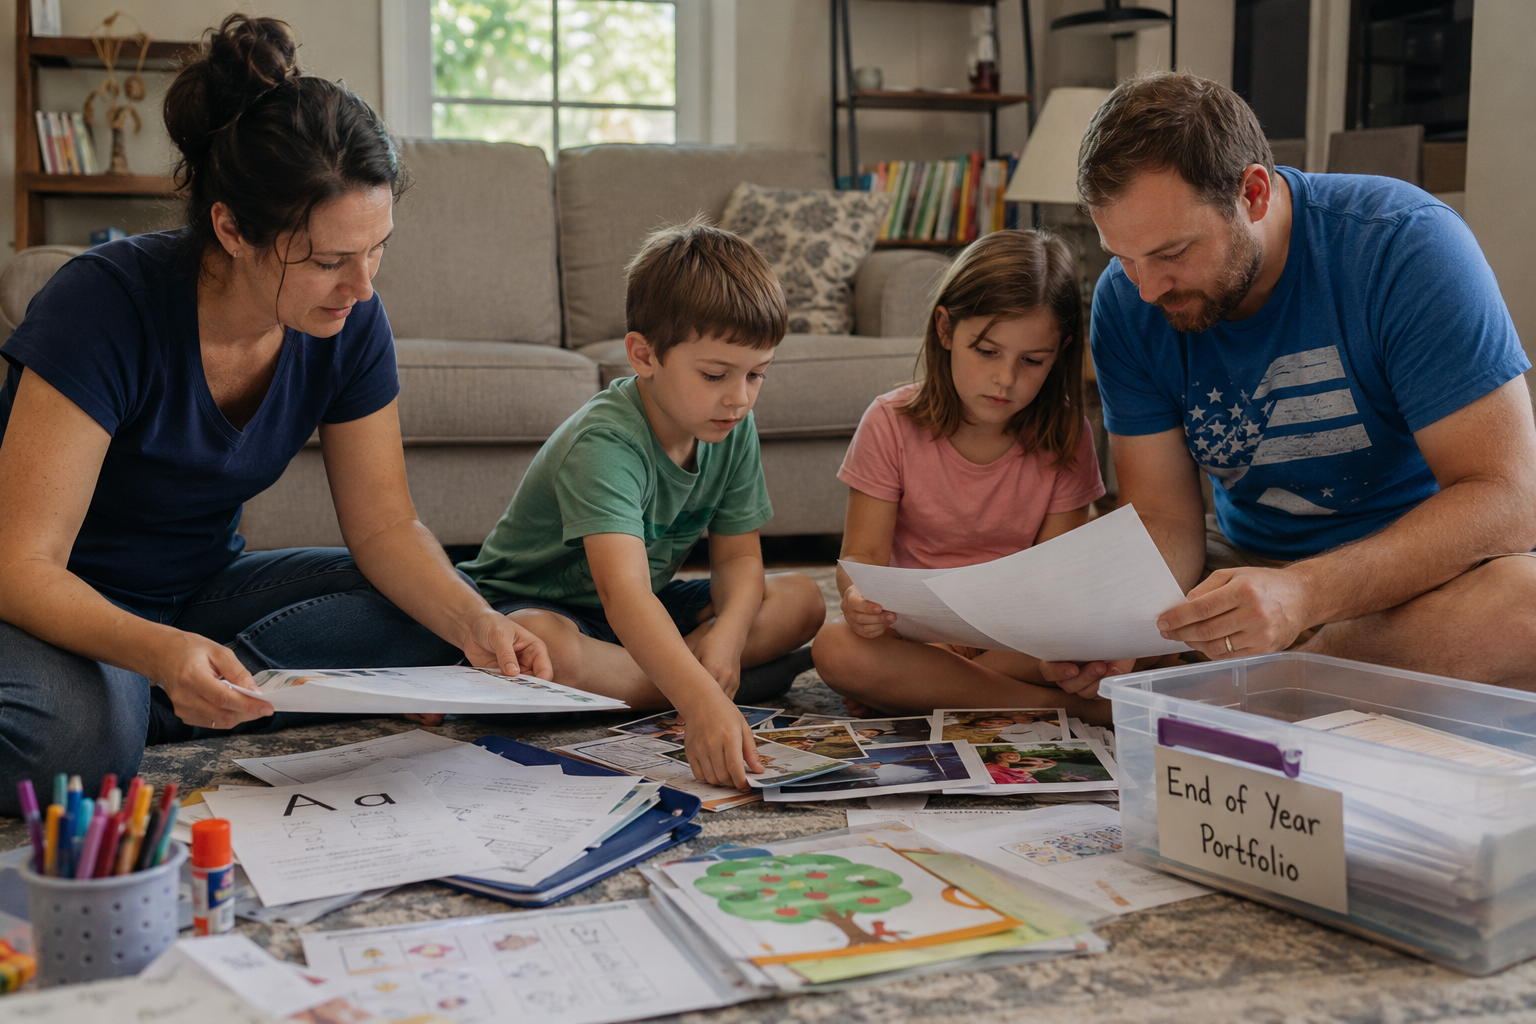
For my family, I use a large binder for each child, full of example work for each subject, photographs of activities, and lists for reading, attendance, curriculum, and field trips. Simple divider tabs separate each section for easy review.
Fun Portfolio Extras
Who would I be if not an overachiever? I decided long ago that my child’s portfolio would also serve as a cool momentum/scrapbook, so I’ve added some cool extras to highlight their interests and activities each year.
Try adding:
- A Yearly Photograph: Think of this as the equivalent of a traditional school’s picture day. At the beginning of the binder, simply paste a fun close-up photo of your child and a brief description indicating their school year and grade level.
- Bright/Neon Paper: Add some color! I use bright paper colors that serve as the backdrop to all of my scrapbook photo pages.
- Page Protectors: We want these binders to last, so invest in some clear page protectors for every sheet, or at least the photo sheets that you include.
- A Self-Portrait Page: I do this every year, and if my kids let me, I’ll continue through until graduation. I have them draw a self-portrait in their own style and write down some of their favorite books, movies, and activities around the page.
- A Subject-Specific Summary Page: After each divider tab, I include a brief subject summary page for each child. I speak about our chosen curricula, what worked and what didn’t, and highlight areas that my kids excel in or have shown great progress.
- Photos, Photos, Photos: Throughout the year, I take photos of our arts & crafts, recitals, extracurricular activities, science projects, and field trips. I print them at my local 1-hour photo shop and let the scrapbooking commence! I use funky scissors to cut out each photo and paste it onto my colored paper with fun stickers and titles. Each photo page is neatly organized within its appropriate section.
- Note: To make this process less time-consuming, break up your year into semesters. Print photos around Christmas break and again at the end of the school year to keep things from piling up.
- *This part is a great opportunity to involve your kids. Have them sort the photos with you or decorate their pages.
- Sample Work: Let’s not forget the most important part…proof that your child actually learned something this year! Typically, I use one example per month in each subject. For example, Math will include one worksheet per month from August to May. This, along with your subject summary, will offer excellent insight into all of the hard work your child accomplished and, most importantly, shows progress.
- Proud Page & Goals for the Future: A great ending to their beautiful school portfolio would be a short list or summary of their most memorable and proud moments, along with personal goals for the upcoming summer or the following school year.
Keep in mind that these fun extras are all optional. If you prefer, you can keep digital files instead, or a simplified version of what I described above.
Don’t Forget!
After your portfolios are completed and you have contacted a professional to evaluate them, keep a copy of their letter or form in your child’s binder as proof that they’ve passed with flying colors.
Note: Double-check that your evaluator intends to send your evaluation to the school district. It is your responsibility to follow through and send the appropriate paperwork if they choose not to.
RELATED: Portfolio Evaluation or Standardized Testing-Which To Choose